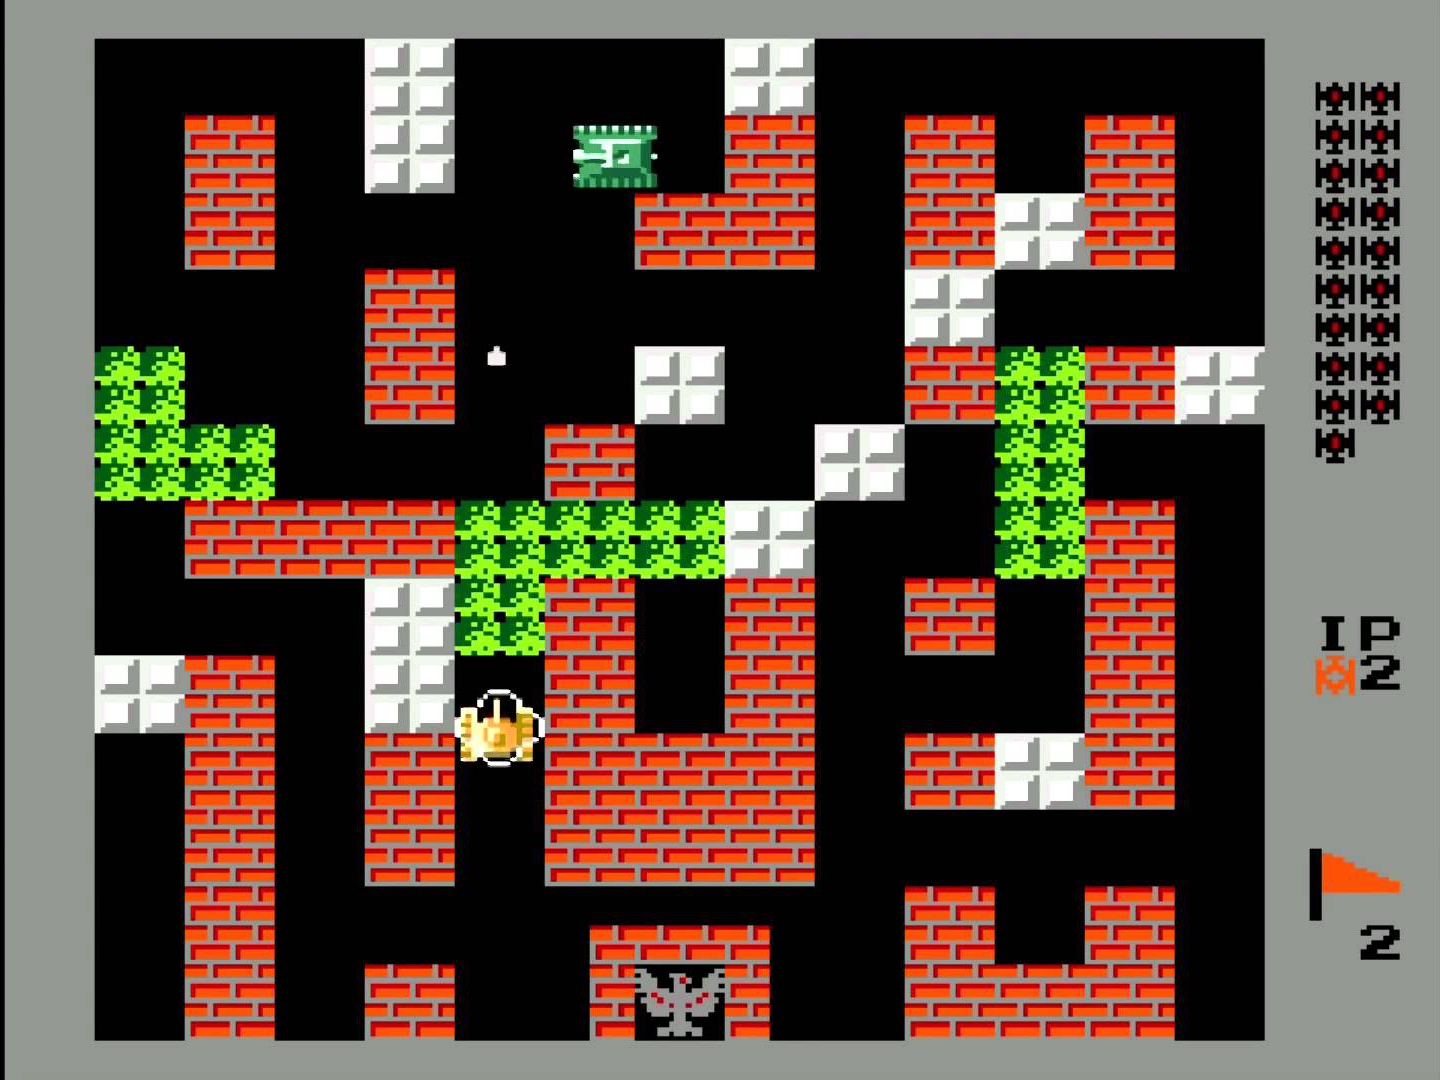
 Everything started when my flatmate, Stefan, wanted to play Battle City.
It’s a very old game with tanks defending their base for NES. It was very popular in the 90s.
When I was little I loved playing this game with friends, so I decided to see what’s available out there besides looking for an old NES system on eBay and wondering how to convert old school AV outputs to 21st century inputs (HDMI, DisplayPort).
Enter RetroPie, an open-source project that emulates the console frameworks and all you need is to download the game roms and get them on the Raspberry Pi SD Card and you are ready to go. It even comes with pre-installed drivers for the latest game consoles gamepads – Xbox One and PlayStation 4.
To set everything up will take no more than 30 minutes.
Required items
* Raspberry Pi 3 (An optional case)
* MicroSD Card
* MicroSD Card Reader or Adapter to SD Card
* Micro USB Power Adapter 2.5A (for Pi 3)
* HDMI Cable
* USB Gamepads (Xbox One, PS4, etc.)
* Keyboard & Mouse (for the initial setup only)
* USB Wifi Dongle (only for Raspberry Pi 2 and earlier, Pi 3B has it integrated)
There are quite a few Raspberry Pi 3B Starter Kits on Amazon for a good price. I purchased one and used my Xbox One Controllers.
Installing RetroPie
Download the pre-made image for Raspberry Pi called BerryBoot here.
Then get the microSD card into the adapter and plug it into your PC. We are going to write the disk image to it.
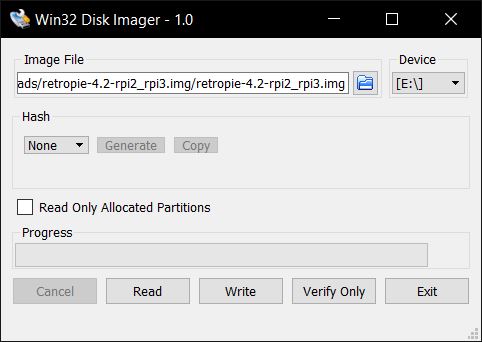
If you are using Windows, download Win32DiskImager from here. For Mac and Linux, you can use Etcher to do the same. Burning the image is straightforward select the downloaded img file, select the device and click Write (for Win32DiskImager).
Once done, unplug the microSD card and put it in the Raspberry Pi.
 Connect your keyboard and mouse to the Raspberry Pi, HDMI to a Monitor/TV and finally plug the Power Adapter as it will boot the device immediately.
If all went well, it will show you the RetroPie Splash Screen during boot up.
Now, in order to facilitate installing games on it, rather than moving around a flash drive back and forth after you have it connected to you TV.
The easiest way to wireless transfer via SFTP. Which is why we need to setup SSH and SFTP.
Setting up SSH and SFTP
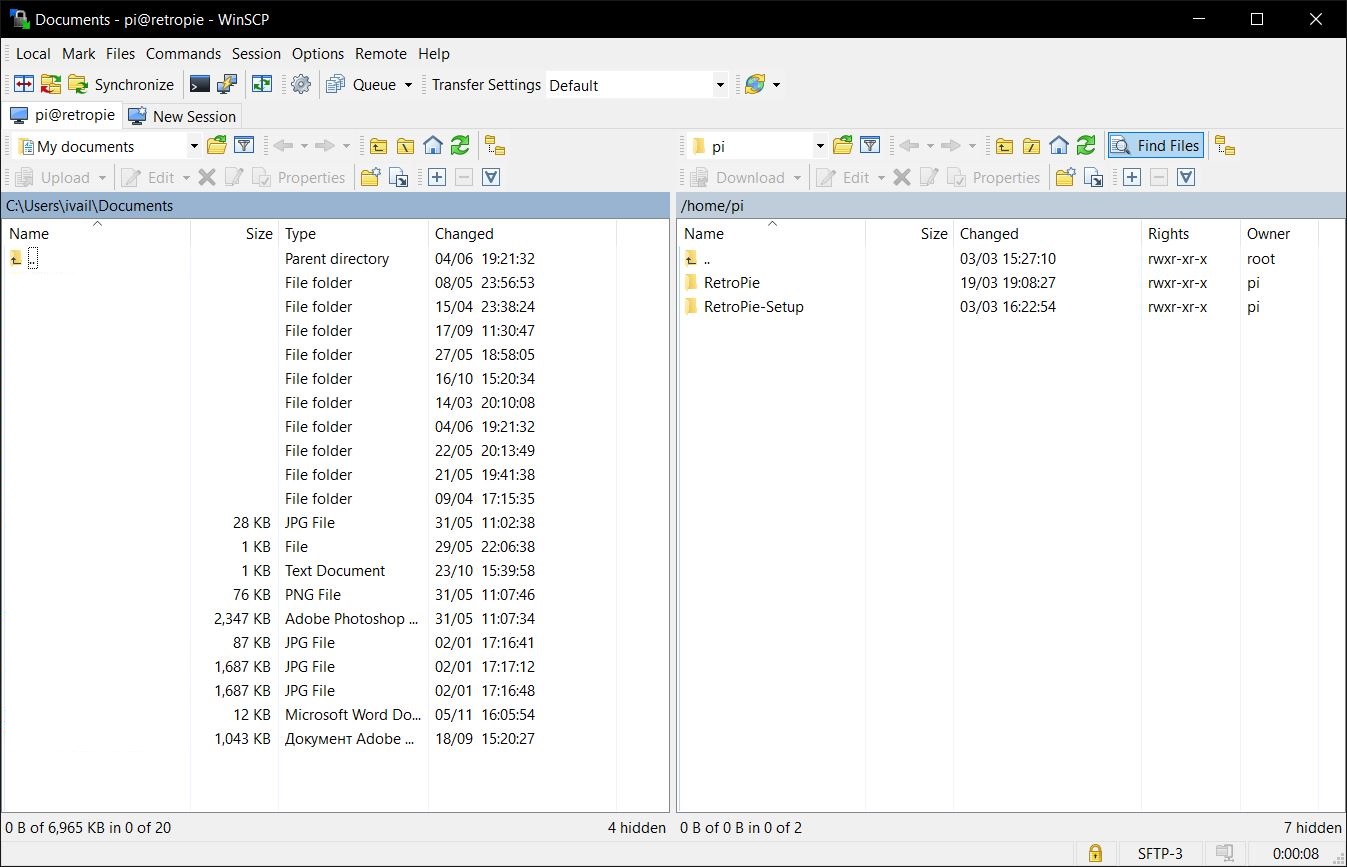
If you are on Windows install PuTTY and WinSCP.
Now to enable SSH in the Raspberry Pi, when you have it boot up. Press Ctrl + F4 and run the following commands:
cd /bootsudo touch sshsudo reboot nowBy default, your host name from the BerryBoot image is “retropie” with username “pi” and password “raspberry“.
When you open WinSCP, enter for host name “retropie“, have the port at 22 and it will ask you to install enter the above username and password, once done you should have access to the sd card to copy over games.
Setting up the controllers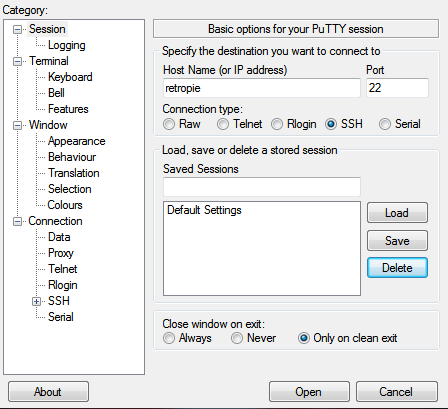
Connect the controllers in question to the Pi – Xbox One, PS4 DualShock, realistically the majority of the USB Controllers from Amazon would work.
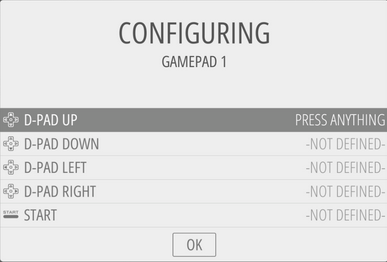
Then press Start -> Configure Input, and press and hold a button on the gamepad for it to be recognized then follow the steps to map the buttons.
Repeat the steps for the other controllers if you have more than one, you’ll have to do each separately. The full guide is available here.
I understand not all are supported out of the box, if you encounter issues, go to the above link and go to section “Controllers” on the right and click on the controller you have to learn more and what needs to be done.
Downloading and installing games
Retropie comes without any preinstalled games for many reasons. You can google games for NES, a popular repository is https://www.emuparadise.me
Download the games of interest from there and copy them over via WinSCP to the Roms/NES folder if it’s a NES or the respective folder given the
console you want to simulate. Reboot the Pi (Start -> Quit -> Restart) and it will give you to choose a console and run the game.
That’s it. It’s quick and painless guide for hours of fun! I hope you’ve enjoyed setting this up as much as I did.
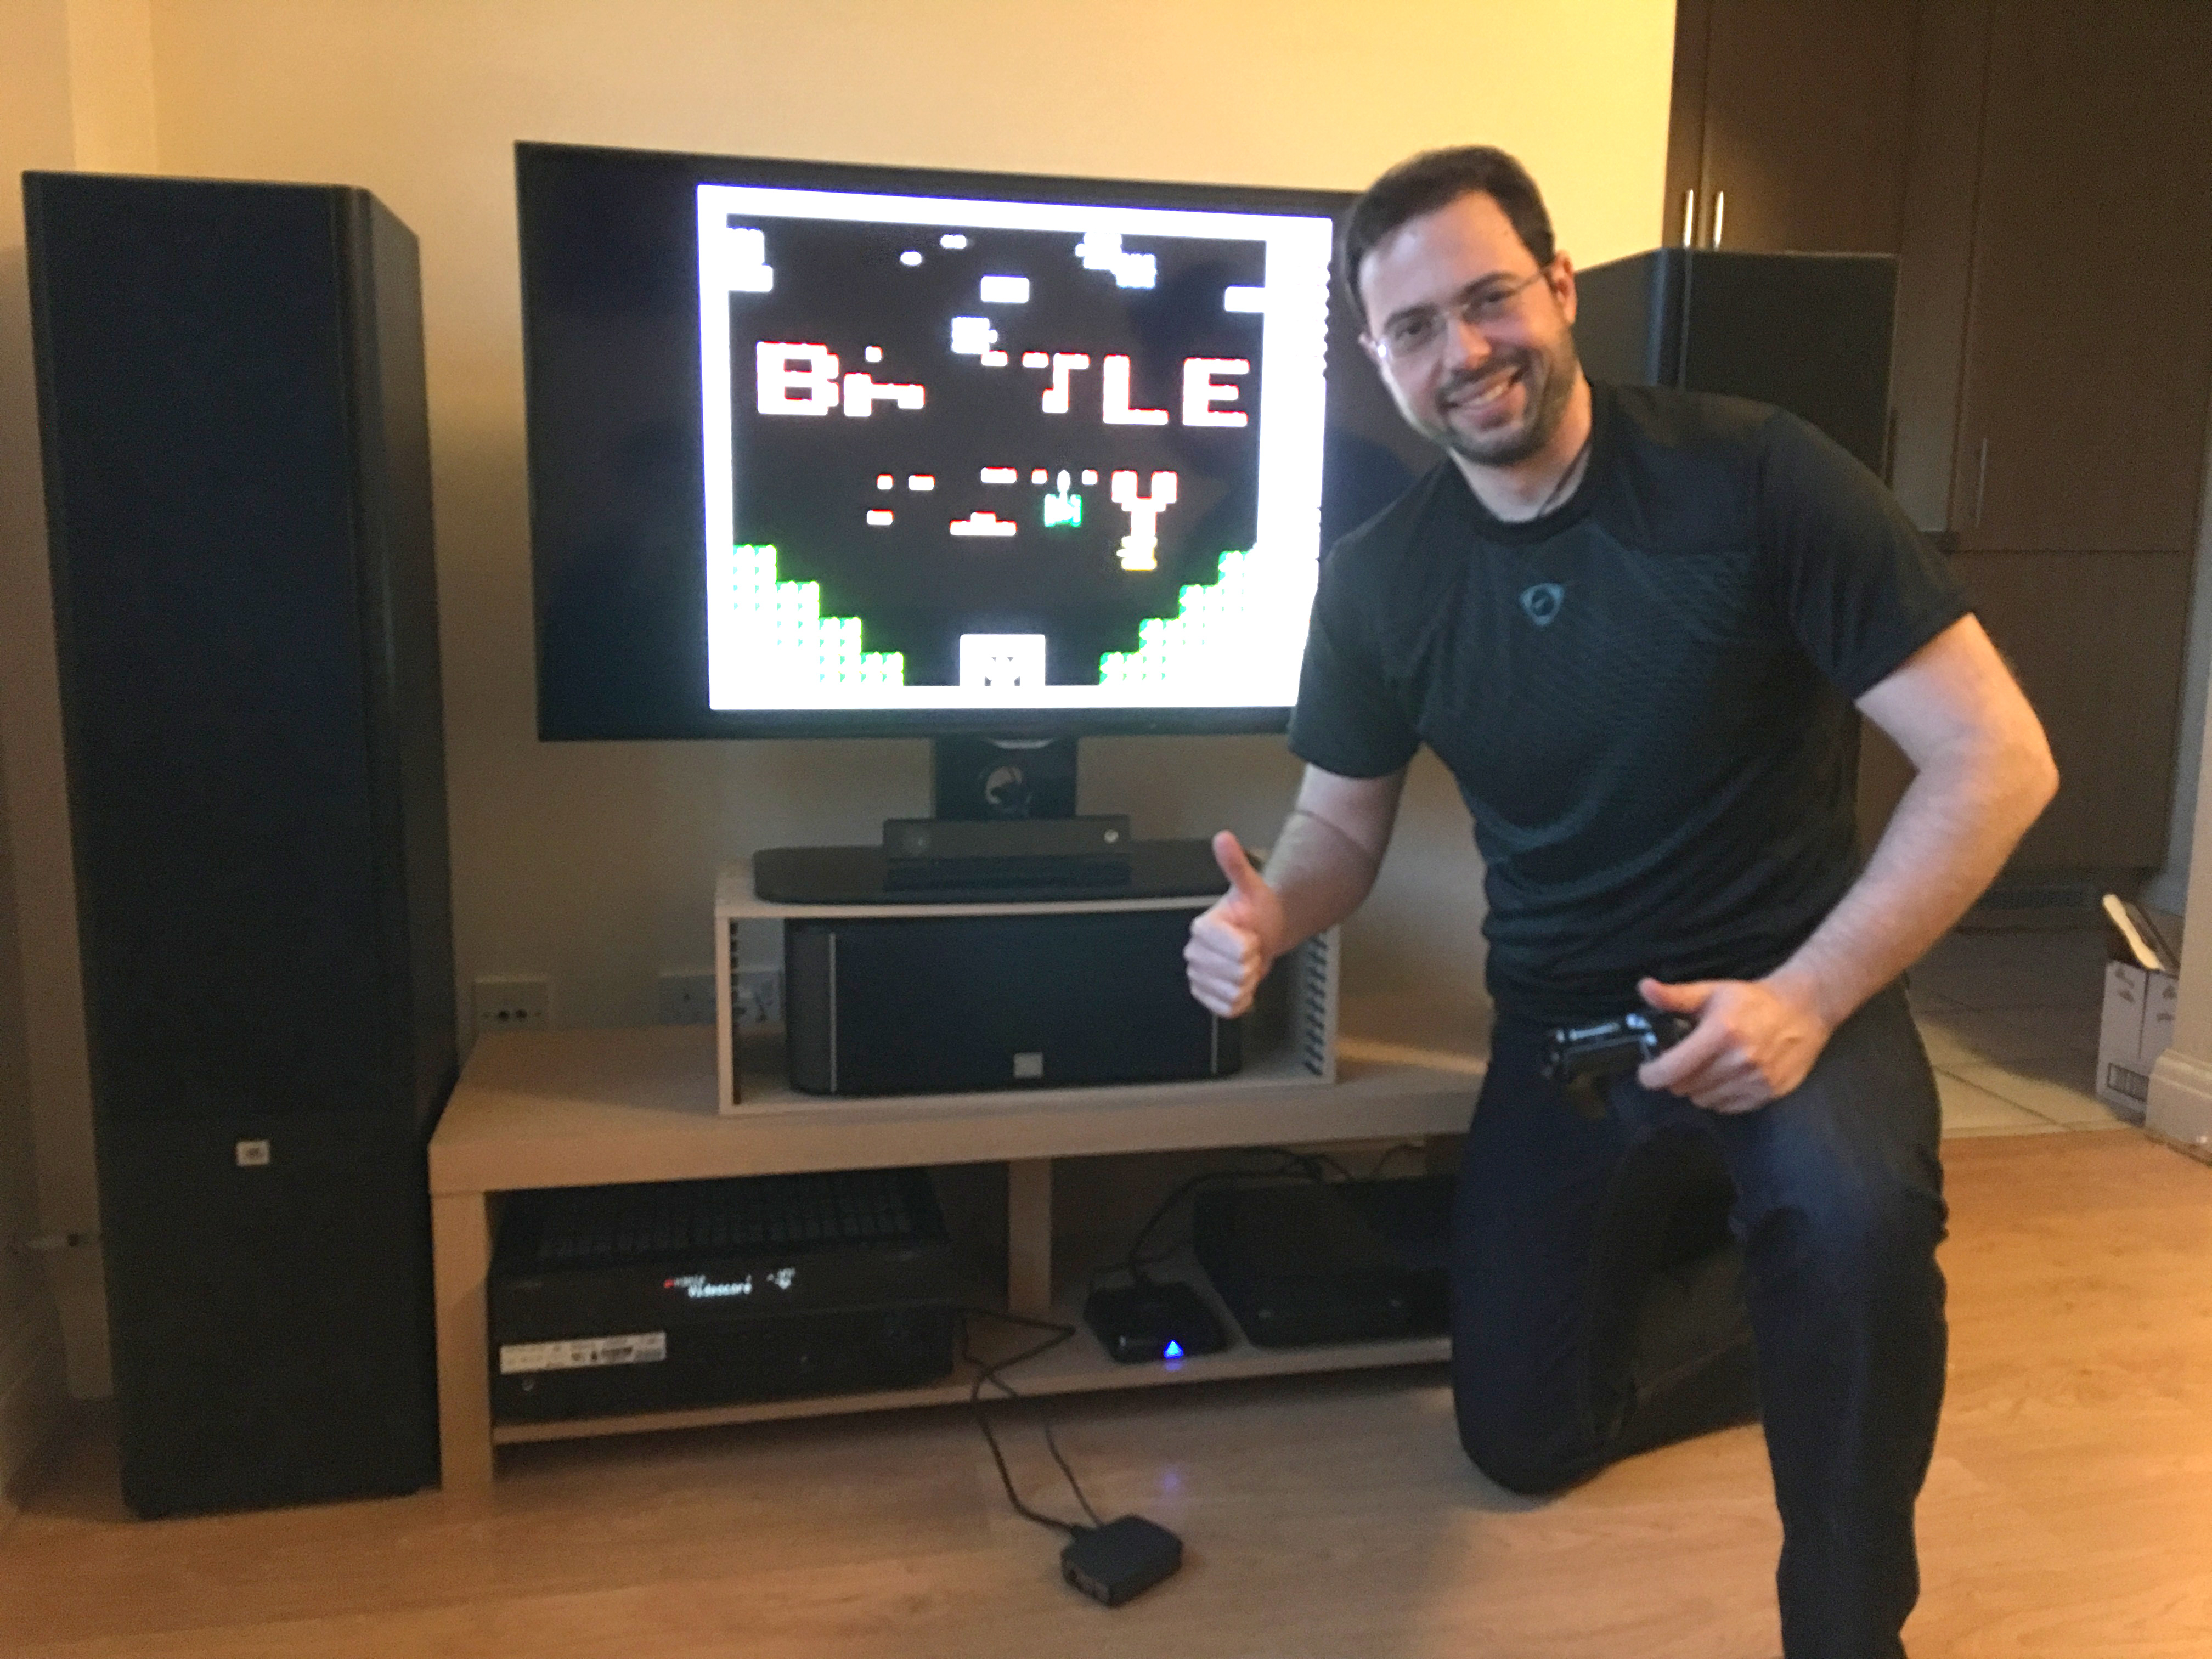
Here’s the final result, when I set it up – a very happy flatmate 🙂


0 Comments